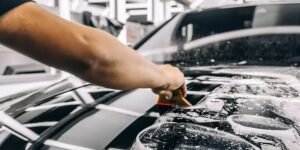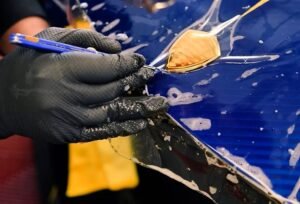
So, you have decided to protect your vehicle’s factory paint with paint protection film (PPF). However, the next major decision can be frustrating: Should you take on a DIY PPF installation to save money, or should you pay a professional to handle it?
Here is the quick answer: If you want a flawless, invisible, and long-lasting finish backed by a comprehensive warranty, going with a professional installer is always your best choice. On the other hand, if you are patient, enjoy automotive hands-on projects, and are acceptable with minor imperfections, a DIY paint protection film project can be highly rewarding.
In this ultimate guide, we will break down the true differences between DIY and expert PPF installation services, and provide advanced tips if you choose to take the DIY route with MOKfilm.
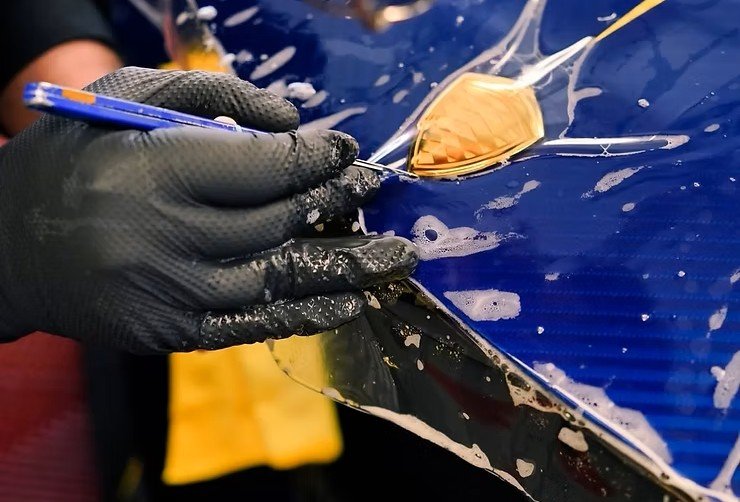
Why Choose Professional PPF Installation Services
Professional automotive restyling shops remain the go-to option for luxury, exotic, and daily drivers for several critical reasons:
1. Perfect Fit and Seamless Finish
Installing a clear bra isn’t just about slapping a sticker onto a fender; indeed, it requires surgical precision. Professional installers utilize high-end CNC plotting software to generate pre-cut templates customized to your car’s exact make and model. Furthermore, experienced pros know how to hand-trim bulk film to ensure edge-wrapped, seamless coverage without bubbles or ugly wrinkles.
2. Maximum Film Durability and Longevity
Even the highest-grade film can fail prematurely if applied incorrectly. Poor installation leads to lifted edges, trapped dirt, and moisture blisters that destroy the clear look. Professionals operate in temperature-controlled, dust-free environments and utilize multi-stage decontamination processes, ensuring the film remains crystal clear for many years.
3. Warranty and Ultimate Peace of Mind
One of the biggest advantages of hiring a professional is the manufacturer-backed warranty. When you choose a certified shop utilizing premium brands like MOKfilm, your investment is fully protected against yellowing, cracking, staining, and bubbling. If an oversight happens, the shop handles it at no extra cost to you.
Can PPF Truly Be a DIY Project?
Yes, you can certainly install PPF yourself, provided you manage your expectations. DIY precut kits have become increasingly popular among automotive enthusiasts. Let’s look at the benefits of taking this route:
Massive Cost Savings: While a full professional wrap can cost anywhere from $5,000 to $8,000, high-quality bulk film or partial DIY kits generally range from $100 to $1,000.
Great for Small, Flat Areas: Protecting high-impact, simpler sections like headlights, door cups, side mirrors, or flat rocker panels is highly manageable for a beginner.
The Joy of Learning: For hands-on car owners, mastering the art of squeegeeing and heat-shrinking a film provides immense personal satisfaction.
MOKfilm Reality Check for Beginners: Premium films matter. Cheap PVC or TPH films are rigid, hard to stretch, and have aggressive glues that leave stretch marks. In contrast, MOKfilm Aliphatic TPU features an advanced pressure-sensitive adhesive system, allowing beginners and pros alike to easily slide, reposition, and lift the film during installation without ruining the adhesive layer.
How to Install PPF for Beginners: Step-by-Step Guide
If you’ve decided to roll up your sleeves, follow this simplified step-by-step automotive paint protection film installation protocol:
Essential Tools Needed:
MOKfilm TPU PPF (Pre-cut kit or bulk roll)
Slip Solution: 1L Distilled water mixed with 2-3ml of baby shampoo
Tack Solution: 15% Isopropyl Alcohol (IPA) mixed with 85% Distilled water
Professional PPF Rubber Squeegee
Heat gun or reliable hair dryer
Microfiber towels & dual spray bottles
Step 1: Meticulous Paint Preparation
Your surface must be surgically clean. Wash the vehicle, run a high-quality clay bar over the panel to extract embedded gloss contaminants, and perform a final IPA wipe-down to remove oils and waxes. Therefore, any speck of dust left behind will create a permanent bump.
Step 2: Flood and Position the Film
Generously mist the car panel and your hands with the slip solution. Peel the backing liner off the film and immediately spray the sticky side. Lay the wet film onto the panel; the soap solution will allow you to slide it perfectly into place.
Step 3: Align and Tack Key Anchors
Line up the film perfectly with the body lines. Lift one corner, spray your alcohol-based tack solution underneath to flush out the soap, and squeegee it down firmly. This creates an anchor point, preventing the film from sliding out of alignment.
Step 4: Squeegee from the Center Out
Using firm, overlapping strokes, push the trapped slip solution out from underneath the film. Always work from the center toward the outer edges. Keep the top of the film wet with slip solution to ensure your squeegee glides smoothly without scratching th
Step 5: Wrap and Heat-Seal the Edges
Once the flat surfaces are locked down, trim away excess material using a precision knife. Use your heat gun on a low setting to soften the TPU film around complex curves and corners, wrapping the edges tightly behind the panels.
Step 6: Curing Time
Allow the film to dry indoors for at least 24 to 48 hours. Avoid washing the car or exposing it to high-pressure water during this initial curing window to prevent edge lifting.
Why Automotive Professionals and DIYers Trust MOK
At MOKfilm, we design premium aliphatic TPU films that bridge the gap between pro-level performance and user-friendly installation.
Exceptional Elasticity & Conformability: Our TPU easily stretches over deep bumper recesses and complex hoods, significantly reducing installation stress.
Instant Self-Healing Topcoat: Swirl marks and light surface scratches vanish automatically under heat or sunlight.
Optical Transparency: MOKfilm delivers a crystal-clear, deep gloss finish with zero “orange peel” distortions, preserving the natural beauty of your factory clear coat.
Frequently Asked Questions (FAQs)
Is PPF difficult for a complete beginner to install?
Yes, full-body wraps are incredibly challenging without professional training and specialized tools. However, smaller packages like a partial hood, headlights, or luggage areas are completely doable for beginners who follow instructions carefully.
How long does a standard PPF installation take?
A professional team can complete a full front-end or complete wrap in 1 to 3 days, including curing time. For a DIYer tackling a single hood or bumper, expect to spend an entire afternoon (3 to 6 hours) ensuring proper preparation and alignment.
Should I hire a professional for my high-end exotic car?
Absolutely. For luxury vehicles, exotics, or sports cars, a professional installation is highly recommended to protect your resale value and ensure a completely seamless finish with no visible knife marks on the paint.
Whether you are looking to purchase premium DIY clear bra kits or want to offer elite MOKfilm TPU solutions at your restyling shop, we are here to help. [Contact the MOKfilm Support Team Today] for wholesale pricing and certified technical support.